To Access Web Services or Internet connection you required to check weather connection is available or not. so to check how you can do this read my this article in which i will help you to get connection status in your application. there are no of ways to get connectivity status like broadcast receiver , back ground service etc. but in this example i am using connectivity manager class which allow to use connection service in our application.
Step -1 : Create New Android application and give name ConnectivityDemo to main activity and same name for layout file. minSdkVersion="17” and targetSdkVersion="17".you can use below android version also for compilation and build option.
Step-2 : in your connectivitydemo.xml file put the below code in it. in this layout file i have used two buttons but if you won't require it you can skip this step.
Step-3 : Above layout File having one button for checking mobile data connection and one is for wifi connection. now put below code in ConnectivityDemo.java file.
Step-4 : i have created another class CheckForConnection which actually check weather mobile data or wifi is on or not. in android you can not do network connectivity task on main thread so to perform network task i have created this class. this is the main and handy point because if you create Broad cast Receiver you have to register it and you have to add entry in manifest file also but if you forget any of this its like a burden for you. and if you create service in your application it runs continuously. so that's why i choose this way to make yor work easy. now create new class CheckForConnection.java. and copy below code in it.
Now just run your application and check weather it works. i hope you understand the way i have done this so you can implement in your application. if you have any query or problem ask in below comment box.
Keep coding...
Step -1 : Create New Android application and give name ConnectivityDemo to main activity and same name for layout file. minSdkVersion="17” and targetSdkVersion="17".you can use below android version also for compilation and build option.
Step-2 : in your connectivitydemo.xml file put the below code in it. in this layout file i have used two buttons but if you won't require it you can skip this step.
ConnectivityDemo.xml
Step-3 : Above layout File having one button for checking mobile data connection and one is for wifi connection. now put below code in ConnectivityDemo.java file.
ConnectivityDemo.java
package com.example.samplecollection;
import android.os.Bundle;
import android.app.Activity;
import android.view.Menu;
import android.view.View;
import android.view.View.OnClickListener;
import android.widget.Button;
import android.widget.Toast;
public class ConnectivityDemo extends Activity implements OnClickListener{
 Button MobileData,wifi;
 boolean status;
 CheckForConnection cf;
 @Override
 protected void onCreate(Bundle savedInstanceState) {
  super.onCreate(savedInstanceState);
  setContentView(R.layout.connectivity_demo);
  setRef();
 }
 private void setRef()
 {
  // TO set Refrence to the xml button object.
  MobileData = (Button) findViewById(R.id.CD_bt_mdata);
  wifi = (Button) findViewById(R.id.CD_bt_wifi);
  MobileData.setOnClickListener(this);
  wifi.setOnClickListener(this);
 }
 @Override
 public void onClick(View v)
 {
  // Get Which button is clicked by user
  switch (v.getId())
  {
   case R.id.CD_bt_mdata:
    cf = new CheckForConnection();
    status = cf.getMobileDataStatus(ConnectivityDemo.this);
    if(status)
     Toast.makeText(ConnectivityDemo.this,"Data Connection is On.", Toast.LENGTH_LONG).show();
    else
     Toast.makeText(ConnectivityDemo.this,"Data Connection is Off", Toast.LENGTH_LONG).show();
   break;
   case R.id.CD_bt_wifi:
    cf= new CheckForConnection();
    status = cf.getWifiStatus(ConnectivityDemo.this);
    if(status)
     Toast.makeText(ConnectivityDemo.this,"Wifi Connection is On.", Toast.LENGTH_LONG).show();
    else
     Toast.makeText(ConnectivityDemo.this,"Wifi Connection is Off.", Toast.LENGTH_LONG).show();
   break;
  default:
   break;
  }
 }
}
Step-4 : i have created another class CheckForConnection which actually check weather mobile data or wifi is on or not. in android you can not do network connectivity task on main thread so to perform network task i have created this class. this is the main and handy point because if you create Broad cast Receiver you have to register it and you have to add entry in manifest file also but if you forget any of this its like a burden for you. and if you create service in your application it runs continuously. so that's why i choose this way to make yor work easy. now create new class CheckForConnection.java. and copy below code in it.
CheckForConnection.java
package com.example.samplecollection;
import android.content.Context;
import android.net.ConnectivityManager;
import android.net.NetworkInfo;
public class CheckForConnection
{
    public static boolean getWifiStatus(Context context)
    {
        // To get System Connectivity status
     ConnectivityManager cm = (ConnectivityManager) context
                .getSystemService(Context.CONNECTIVITY_SERVICE);
        NetworkInfo activeNetwork = cm.getActiveNetworkInfo();
        if (null != activeNetwork)
        {
         // Check For Wifi Status
            if(activeNetwork.getType() == ConnectivityManager.TYPE_WIFI)
                return true;
            else
             return false;
        }
        return false;
    }
    public static boolean getMobileDataStatus(Context context)
    {
        // To get System Connectivity status
     ConnectivityManager cm = (ConnectivityManager) context
                .getSystemService(Context.CONNECTIVITY_SERVICE);
        NetworkInfo activeNetwork = cm.getActiveNetworkInfo();
        if (null != activeNetwork)
        {
         // Check For Mobile Data Status
            if(activeNetwork.getType() == ConnectivityManager.TYPE_MOBILE)
                return true;
            else
             return false;
        }
        return false;
    }
}
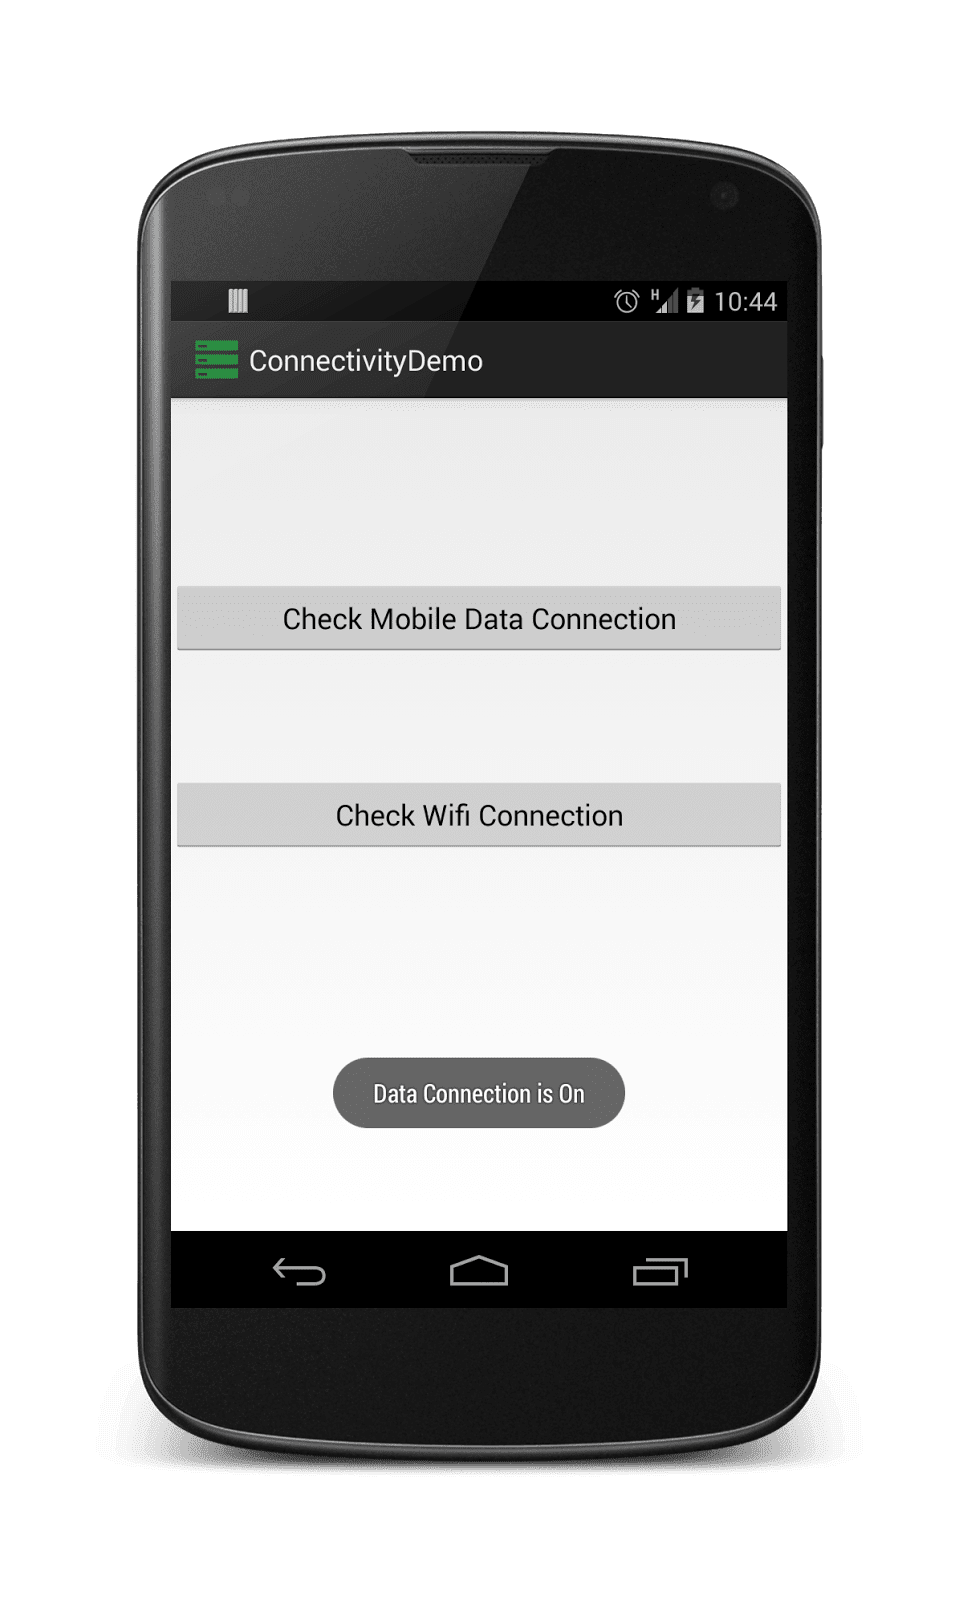
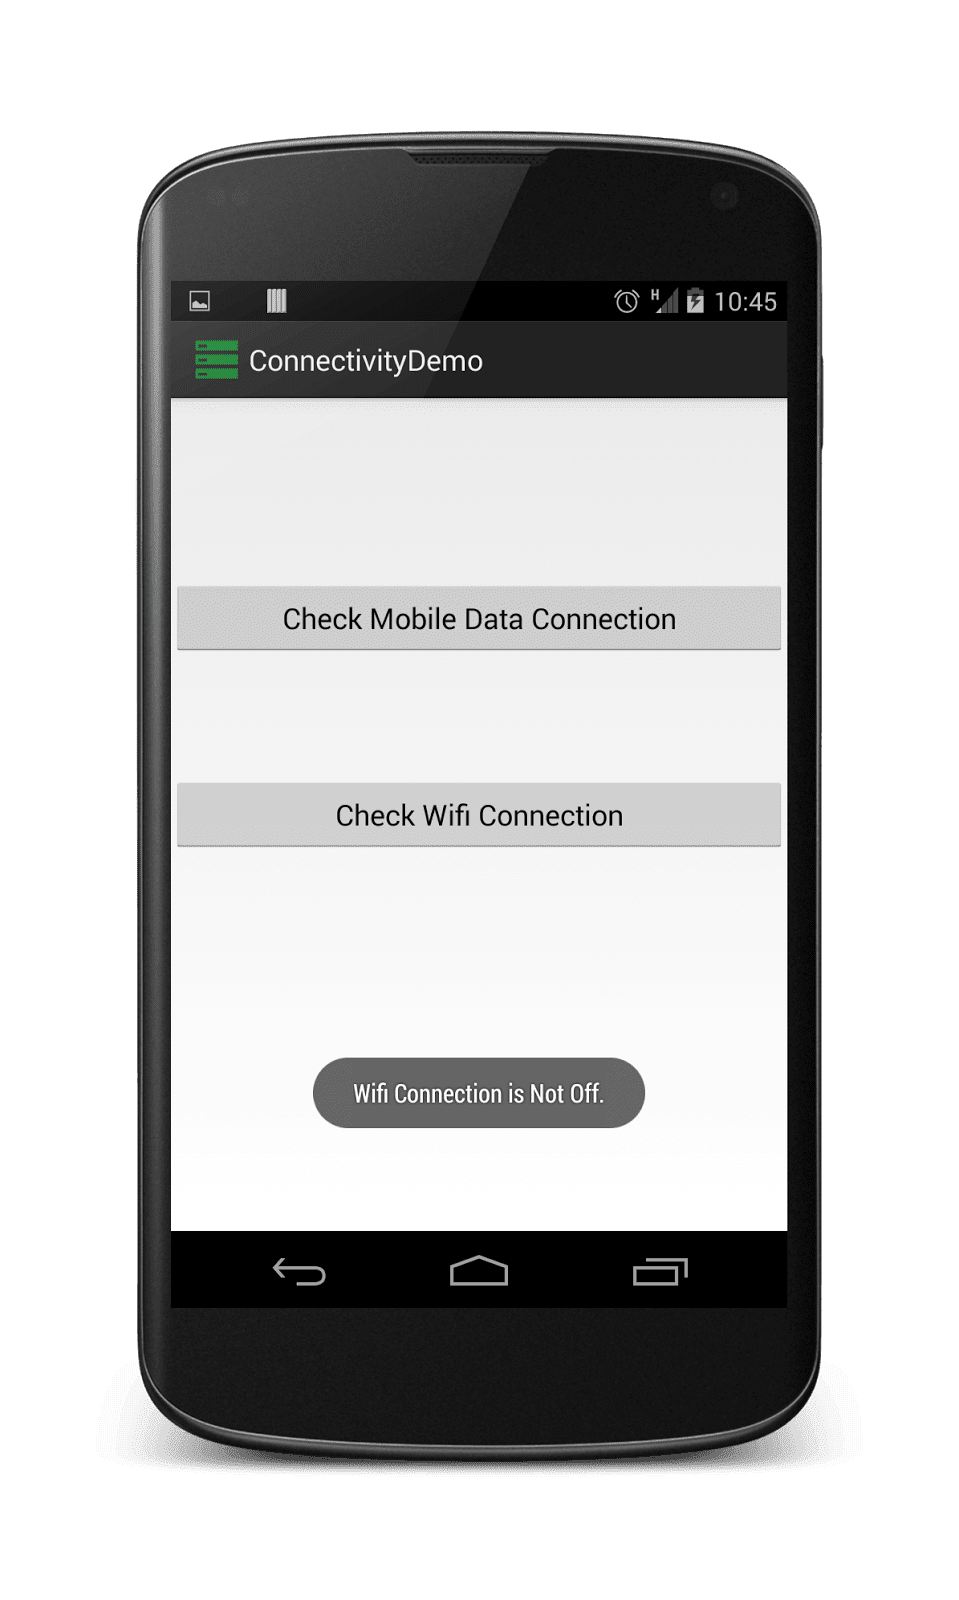
Screen Shots
Now just run your application and check weather it works. i hope you understand the way i have done this so you can implement in your application. if you have any query or problem ask in below comment box.
Keep coding...